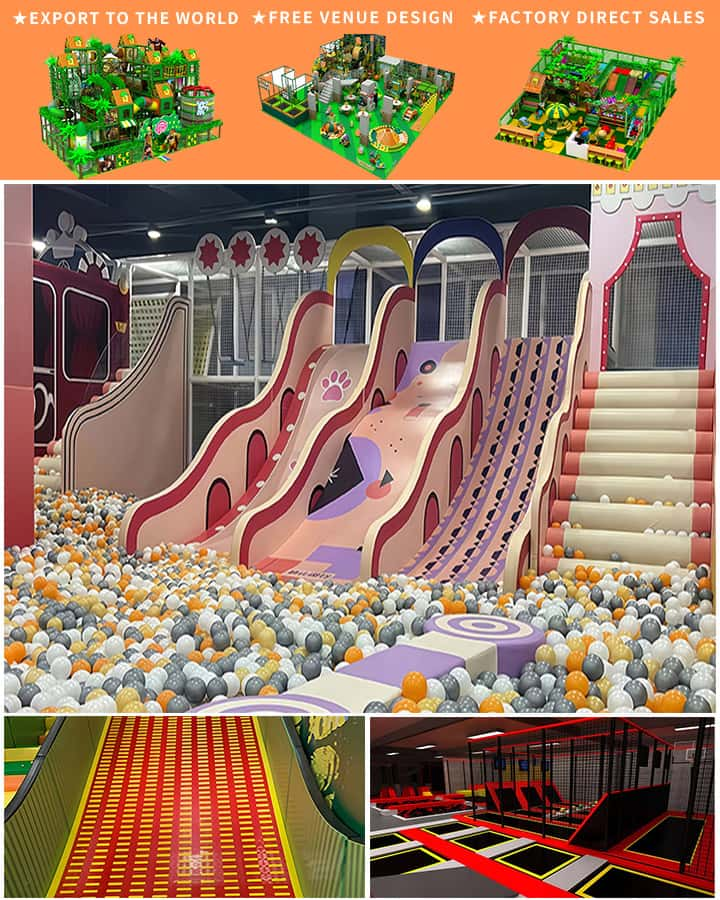
Creating a fun and safe indoor play area for kids is essential to ensure they have an enjoyable and healthy environment to develop their motor skills, creativity, and social abilities. Utilizing AutoCAD blocks can streamline the design process, making it efficient and precise. Here’s how you can create an engaging indoor play space for children using AutoCAD blocks:
1. Planning and Conceptualization
Before diving into the technical aspects of AutoCAD, start with a clear plan. Determine the size of the indoor play area and the number of children it needs to accommodate. Think about the types of activities the play area will support, such as climbing, sliding, interactive games, or quiet reading corners.
Key Considerations:
- Safety: Ensure all equipment is age-appropriate and meets safety standards, with soft flooring or padding to prevent injuries.
- Variety: Incorporate different zones for physical activity, imaginative play, and relaxation.
- Accessibility: Design the space to be accessible for children with disabilities.
2. Setting Up Your AutoCAD Environment
Start by setting up your AutoCAD environment with the necessary settings and tools. Create layers for different elements like furniture, structures, and boundaries to keep your project organized.
Steps:
- Open AutoCAD and set up your workspace.
- Create multiple layers for easy management (e.g., Flooring, Equipment, Furniture).
- Set units to meters or feet according to your preference.
3. Drawing Basic Outlines

Use basic shapes and lines to outline the layout of the play area. This includes defining walls, doorways, and large open spaces.
Techniques:
- Use the
LINE,RECTANG, andCIRCLEcommands to draw walls and partitions. - Define pathways and circulation areas clearly.
4. Adding Play Equipment with AutoCAD Blocks
AutoCAD blocks are pre-made objects that you can insert into your drawing. They save time and maintain consistency across similar objects.
Popular AutoCAD Blocks for Indoor Play Areas:
- Climbing Walls: Customizable blocks representing various climbing structures.
- Slides: Different shapes and lengths to match your design.
- Interactive Toys: Lego stations, interactive panels, and sensory toys.
- Seating and Furniture: Bean bags, small chairs, and tables.
- Decorative Elements: Themed wall decals, rugs, and curtains for imaginative play zones.
5. Customizing Blocks
To make the most of AutoCAD blocks, customize them to fit your specific design needs. Modify scales, rotate, or even combine different blocks to create unique pieces of equipment.
How To Customize:
- SCALE: Use the
SCALEcommand to adjust the size of the blocks. - ROTATE: Rotate blocks using the
ROTATEcommand to fit them into your layout seamlessly. - BLOCK EDITOR: Edit block definitions within the Block Editor for more intricate customizations.
6. Adding Finishing Touches
Incorporate details that enhance the play area’s functionality and aesthetic appeal. This might include adding textures, colors, and labels.
Tips:
- Textures: Apply surface textures to simulate real materials like wood, plastic, or fabric.
- Colors: Use the
COLORcommand to add vibrant colors to different sections and elements. - Labels: Clearly label each section for easy identification and navigation.
7. Validation and Final Checks
Ensure that the final design meets all safety and regulatory standards. Double-check measurements and clearances between equipment to avoid hazards.
Final Checklist:
- Verify dimensions for adequate space around equipment.
- Ensure accessibility features are correctly implemented.
- Confirm that all materials used in the design adhere to safety standards.
Designing a kids’ indoor play area with AutoCAD blocks not only makes the process smoother but also allows for greater creativity and precision. By planning meticulously and utilizing AutoCAD effectively, you can create a delightful and safe environment for children to learn, play, and grow.


